


Almost every conversation about siding is a conversation about the visible material. The color, the profile, the texture, the warranty on the panel. That conversation skips the part of the wall that actually determines whether the house stays dry. Siding is cladding. It takes the first hit from wind and sun and most of the rain. What stops water from reaching the sheathing and the framing is the layer behind it, and the details where that layer meets every opening, every penetration, and every change in plane.
In This Guide
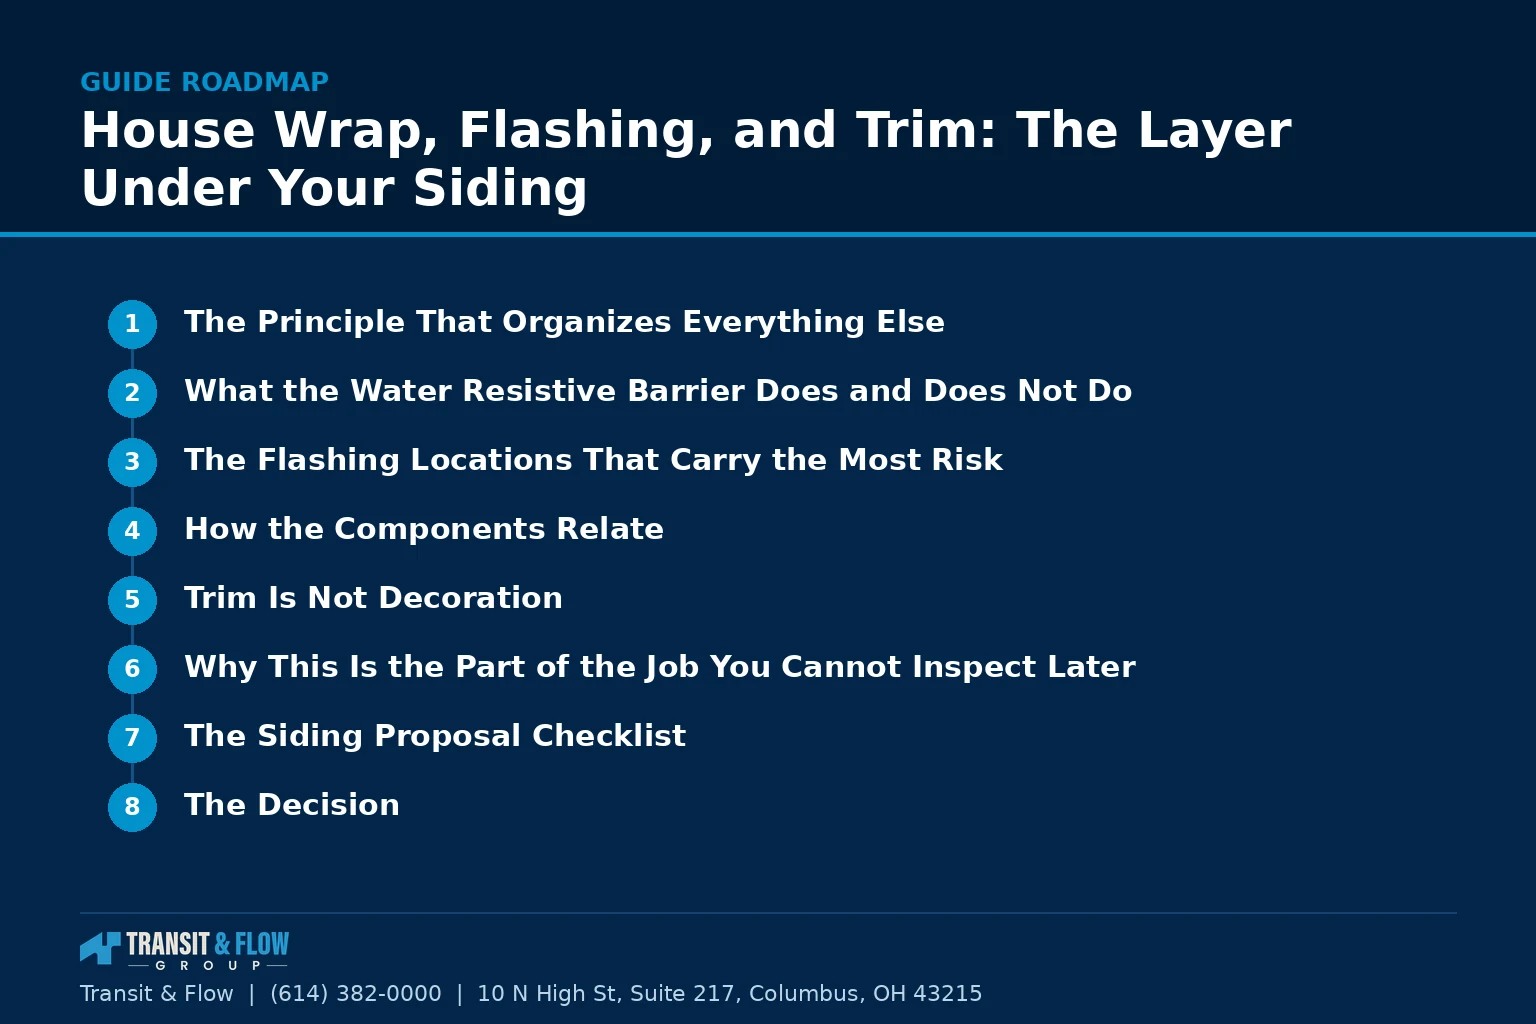
- The Principle That Organizes Everything Else
- What the Water Resistive Barrier Does and Does Not Do
- The Flashing Locations That Carry the Most Risk
- How the Components Relate
- Trim Is Not Decoration
- Why This Is the Part of the Job You Cannot Inspect Later
- The Siding Proposal Checklist
- On Cost
- Glossary
- The Decision
- Where Transit & Flow Group Fits
- Frequently Asked Questions
That layer has three components in most Central Ohio wall assemblies. The water resistive barrier, commonly called house wrap, is the continuous sheet. The flashings are the pieces that direct water back out at every interruption in that sheet. The trim is what covers the transitions, and in a well built wall it is also part of the water management rather than decoration applied over it. When a wall fails, it almost never fails in the middle of the field. It fails at an interruption.
The Principle That Organizes Everything Else
Water management in a wall follows one organizing idea, which is that every layer must shed water onto the layer below it, on the outside face. Upper pieces lap over lower pieces, never the reverse. A single reversed lap creates a funnel that collects water from the entire area above it and directs it into the wall at one point. That is why failures are so often concentrated and severe rather than diffuse. The wall was doing its job across ten feet of field and then delivered everything it collected into one bay of framing.
The second organizing idea is drainage. Assume water gets past the cladding, because on some days it will. Wind driven rain, capillary action at joints, and condensation all put moisture behind siding. A wall that anticipates this gives that water a downward path and an exit. A wall that does not anticipate it holds the water against sheathing until something rots.
What the Water Resistive Barrier Does and Does Not Do
The barrier is a secondary drainage plane. It is not a waterproof membrane and it is not expected to be. It sheds bulk water that has passed the cladding, and in most modern products it also allows water vapor to pass outward so that the assembly can dry. A barrier installed with the laps running the wrong direction, or with fasteners that puncture it without being sealed at critical locations, or left exposed to sunlight for months before the cladding goes on, does not perform the way the manufacturer’s published testing describes.
What it does not do is bridge an opening. Every window, every door, every hose bib, every dryer vent, every light fixture, and every deck ledger is a hole in an otherwise continuous plane. The barrier does not seal those. Flashing does.
The Flashing Locations That Carry the Most Risk
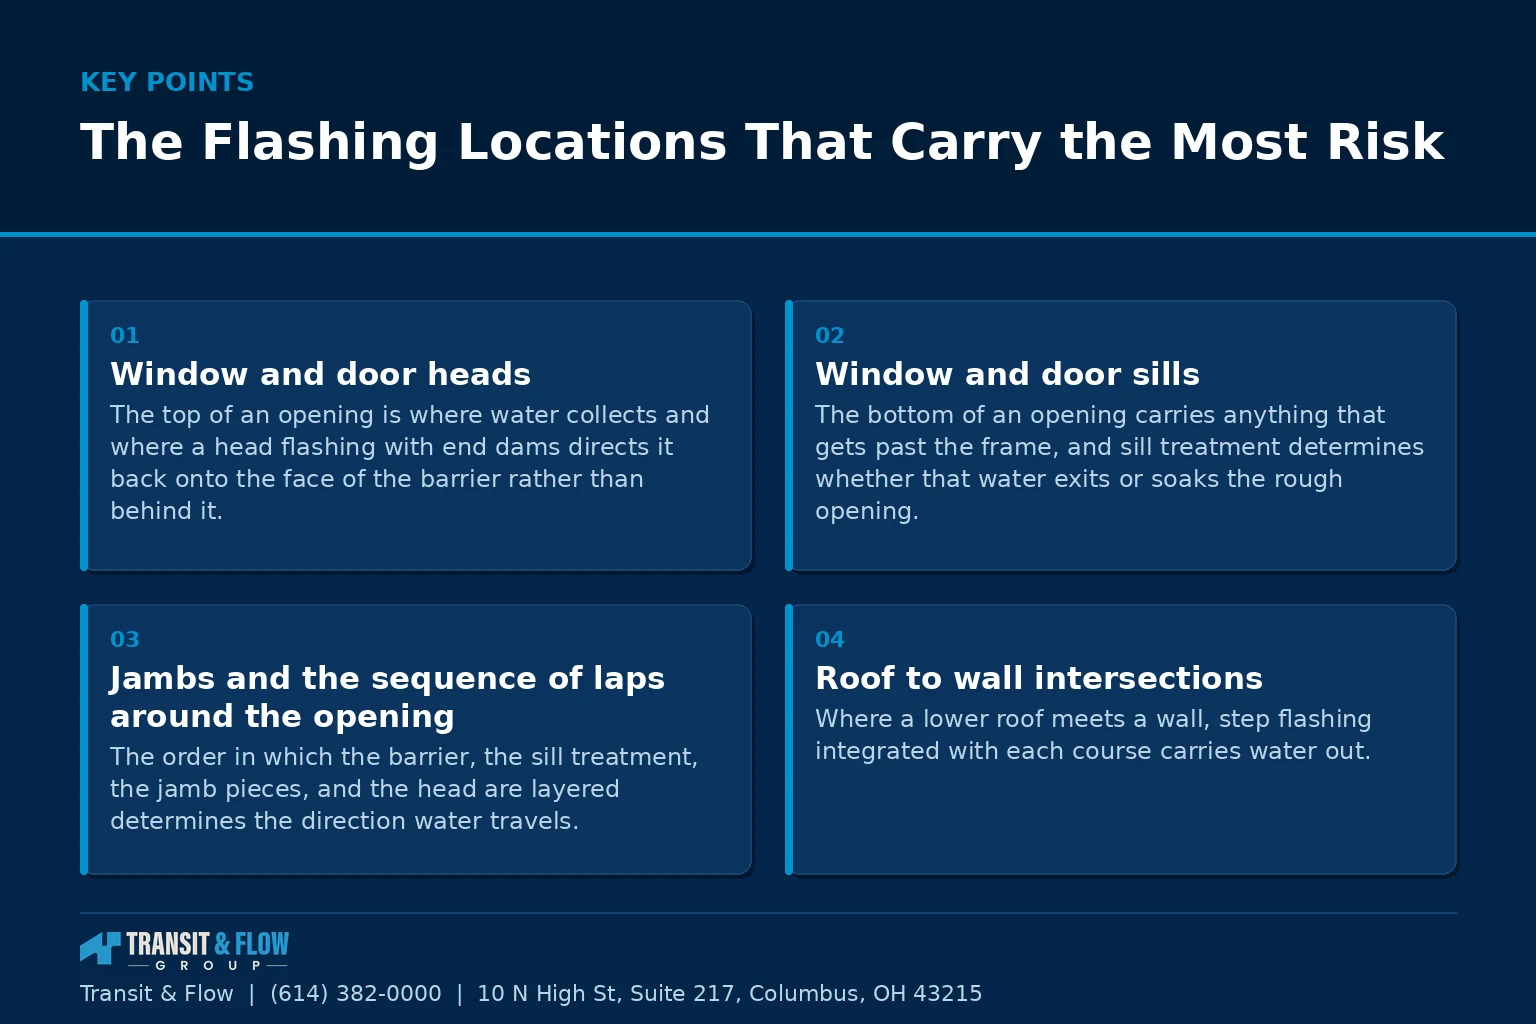
These are the subjects an inspection should record on any wall that is being opened, and the subjects a proposal should address by name rather than by the general phrase properly flashed.
- Window and door heads. The top of an opening is where water collects and where a head flashing with end dams directs it back onto the face of the barrier rather than behind it.
- Window and door sills. The bottom of an opening carries anything that gets past the frame, and sill treatment determines whether that water exits or soaks the rough opening.
- Jambs and the sequence of laps around the opening. The order in which the barrier, the sill treatment, the jamb pieces, and the head are layered determines the direction water travels.
- Roof to wall intersections. Where a lower roof meets a wall, step flashing integrated with each course carries water out. This is one of the most common sources of concealed damage.
- Kick out at the bottom of a roof to wall run. Without a kick out, water running down that intersection is delivered directly behind the siding at the point where the roof ends.
- Deck ledger attachments. A ledger bolted through a wall creates a horizontal shelf and a row of penetrations at once.
- Penetrations for mechanical equipment. Dryer vents, bath fan terminations, refrigerant lines, gas lines, electrical service, and hose bibs each interrupt the barrier.
- Horizontal trim bands and belly bands. Any horizontal projection collects water and requires a flashed top edge with a slope away from the wall.
- Material transitions. Where brick veneer meets siding, or where two cladding types meet at a story line, the transition detail carries all the water from above.
- Bottom of the wall. The termination at the foundation determines whether drainage exits or dead ends against the slab or the foundation top.
- Corners, inside and outside. Inside corners in particular concentrate water from two planes into one vertical path.
- Roof edge and gutter integration. Where the gutter and the wall meet, discussed further in gutter sizing and downspout placement, water arriving from the roof either reaches the drainage system or reaches the wall.
How the Components Relate
| Component | What it is responsible for | What it depends on | Symptom when it is wrong |
|---|---|---|---|
| Water resistive barrier | Shedding bulk water in the field of the wall | Correct lap direction, unbroken continuity, limited sun exposure before cover | Diffuse sheathing staining, elevated moisture readings across a broad area |
| Head flashing | Directing water above an opening back to the outside face | End dams, integration under the barrier above, slope away from the wall | Staining and rot at the top corners of the opening and in the header |
| Sill treatment | Draining water that reaches the bottom of a rough opening | A back dam, a slope to the exterior, sealed corners | Soft framing below the sill, interior finish damage at the stool |
| Step and kick out flashing | Carrying roof to wall water out to the gutter | One piece per shingle course, a kick out at the termination | Concentrated rot in a narrow vertical band below the roof intersection |
| Drainage gap | Giving water behind the cladding a path down and out | Furring, drainable wrap, or a cladding profile that creates the gap | Trapped moisture, cupping, coating failure from behind |
| Trim and terminations | Covering transitions while shedding rather than collecting | Flashed top edges, maintained clearances, sealed end grain | Swelling and paint failure at trim ends and horizontal surfaces |
| Clearances at grade and roof | Preventing wicking from wet surfaces into the cladding | The clearance dimension published by the cladding manufacturer | Deterioration confined to the bottom course or the lowest few inches |
Trim Is Not Decoration
Trim gets specified last and thought about least, which is unfortunate, because trim occupies exactly the positions where walls fail. It sits at the head of openings, at the bottom of walls, at corners, at material transitions, and at horizontal bands. Every one of those is a water management location.
Three things determine whether trim helps or hurts. The first is whether horizontal top edges are flashed and sloped, because an unflashed horizontal trim surface is a shelf that holds water against a joint. The second is whether end grain is sealed, which matters enormously on wood and engineered wood products where the cut end is the most absorbent surface on the piece. The third is whether the trim maintains the clearances the cladding manufacturer publishes at roof surfaces, at decks, and at grade, since trim is frequently the piece that gets scribed down tight to a surface for appearance and thereby creates a wicking path.
Why This Is the Part of the Job You Cannot Inspect Later
Once siding is on, none of this is visible. That is the operational reality that should shape how a siding project is managed. The barrier, the flashings, and the transitions can be verified only in the window between the old cladding coming off and the new cladding going on, and on most residential elevations that window is a matter of days.
The practical response is to make that verification an explicit, scheduled part of the project rather than something that happens if someone remembers. A pre close in walk, with photographs of each elevation and close photographs at every opening and penetration, costs almost nothing and creates a record that has value for as long as the house stands. If a contractor is reluctant to schedule that walk or to provide those photographs, that reluctance is the most useful information you will get during the project.
The Siding Proposal Checklist
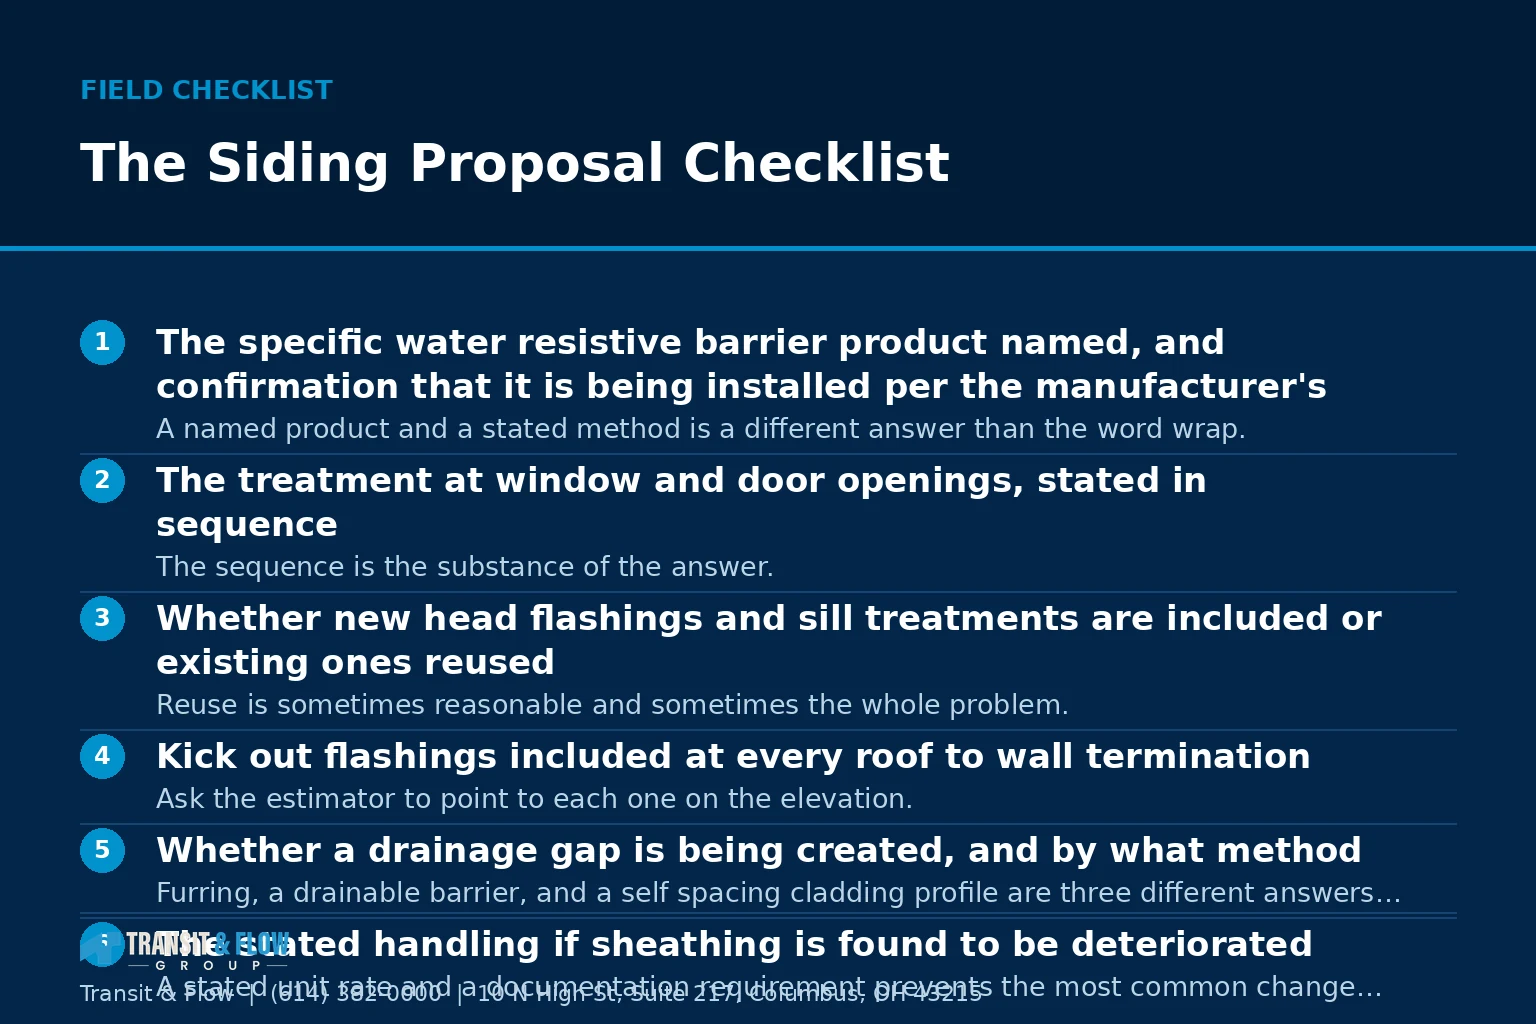
- The specific water resistive barrier product named, and confirmation that it is being installed per the manufacturer’s published instructions. A named product and a stated method is a different answer than the word wrap.
- The treatment at window and door openings, stated in sequence. The sequence is the substance of the answer.
- Whether new head flashings and sill treatments are included or existing ones reused. Reuse is sometimes reasonable and sometimes the whole problem.
- Kick out flashings included at every roof to wall termination. Ask the estimator to point to each one on the elevation.
- Whether a drainage gap is being created, and by what method. Furring, a drainable barrier, and a self spacing cladding profile are three different answers with three different costs.
- The stated handling if sheathing is found to be deteriorated. A stated unit rate and a documentation requirement prevents the most common change order dispute, a subject covered in our guide to change orders.
- The clearances being held at grade, at roofs, and at decks. The manufacturer publishes these, and holding them is a condition of most warranties.
- A scheduled inspection before the new cladding covers the barrier. Put the date and the photographic deliverable in the contract.
On Cost
This article contains no dollar figures on purpose. The barrier and flashing portion of a siding project varies with the number of openings, the number of roof to wall intersections, the presence of decks and porches, the condition of the sheathing discovered after removal, and the drainage method specified. Two houses of identical square footage can differ substantially, and a figure published here would be quoted back in a situation it was never intended to describe. The more useful framing is comparative. When two proposals differ, determine how much of the difference sits in this layer, because that is the portion of the price buying performance you will never see and cannot easily add later.
Glossary
- Water resistive barrier. The continuous sheet behind the cladding that sheds bulk water, commonly called house wrap.
- Drainage plane. The surface on which water travels down and out of the wall assembly.
- Flashing. A material that directs water out of an assembly at an interruption in the drainage plane.
- Head flashing. The flashing above an opening that carries water back to the exterior face.
- End dam. The upturned end of a flashing that stops water from running off the side into the wall.
- Sill pan. A formed or fabricated treatment at the bottom of a rough opening that drains water outward.
- Step flashing. Individual pieces installed with each shingle course where a roof meets a wall.
- Kick out flashing. The piece at the lower end of a roof to wall run that diverts water into the gutter instead of behind the siding.
- Drainage gap. The space between cladding and barrier that allows water to run down and air to move.
- Sheathing. The structural panel over the framing that the barrier is applied to.
- Clearance. The published minimum distance between cladding and an adjacent surface such as grade, a roof, or a deck.
- Pre close in inspection. The verification performed after the barrier and flashings are installed and before cladding conceals them.
The Decision
Option A. Treat the barrier and flashing work as included by default and evaluate proposals on the cladding material, the color, and the price. This is how most siding is bought. It is also why so many walls are opened ten years later to find that the panels are fine and the sheathing behind two windows is not.
Option B. Make the barrier, the flashings, the drainage gap, and the pre close in inspection explicit line items in the scope, and compare proposals on that basis first. Specify the barrier product by name, require flashing at each named location, define the drainage method, set a unit rate and a photographic documentation requirement for deteriorated sheathing, and schedule the inspection before cover.
Our recommendation is Option B, without qualification. The cladding is the part of the wall you can replace again in twenty years if you dislike it. The layer beneath it is the part that determines whether there is sound framing to attach the next cladding to. Specifying it explicitly also has a second effect that is worth as much as the first, which is that it changes which contractors bid seriously. A scope written this way is uncomfortable for anyone whose price depends on this layer receiving minimal attention, and their response to the scope will tell you what you need to know before you sign anything.
Where Transit & Flow Group Fits
We scope siding as a wall assembly replacement rather than a panel swap, which means the barrier, the flashing locations, the drainage method, the clearances, and the gutter integration appear in the proposal as named items rather than as assumptions. We schedule the pre close in inspection, we photograph every elevation and every opening before cover, and we hand you that record at closeout. Our siding and gutters work is coordinated with the rest of the exterior water path, and the full decision framework is laid out in our siding replacement guide. Where the question is what the damage on your existing wall is telling you, start with reading siding damage.
Transit & Flow Group coordinates projects and partners with properly licensed and insured specialty contractors when licensing is required, and work is performed under the appropriate permits.
Frequently Asked Questions
If siding is not what keeps water out, what does?
The layer behind it. Siding is cladding, which takes the first hit from wind, sun, and most of the rain, but what stops water from reaching the sheathing and framing is the water resistive barrier, the flashings that direct water back out at every interruption in that barrier, and the trim that covers the transitions. In a well built wall the trim is part of the water management rather than decoration applied over it. When a wall fails it almost never fails in the middle of the field, it fails at an interruption.
What is the single principle that organizes a wall assembly?
Every layer must shed water onto the layer below it on the outside face, which means upper pieces lap over lower pieces and never the reverse. A single reversed lap creates a funnel that collects water from the entire area above it and delivers it into the wall at one point, which is why failures tend to be concentrated and severe rather than diffuse. The second idea is drainage, meaning the wall should assume water gets past the cladding on some days and give it a downward path and an exit. A wall that does not anticipate that holds water against the sheathing until something rots.
Does house wrap seal around windows and doors?
No, and this is the most common misunderstanding about it. The barrier is a secondary drainage plane that sheds bulk water in the field of the wall, and most modern products also let vapor pass outward so the assembly can dry. What it does not do is bridge an opening. Every window, door, hose bib, dryer vent, light fixture, and deck ledger is a hole in an otherwise continuous plane, and flashing is what handles those. Correct lap direction, unbroken continuity, and limited sun exposure before the cladding goes on are what let the barrier perform the way the manufacturer’s published testing describes.
Which flashing locations carry the most risk?
The ones a proposal should name individually rather than covering with the phrase properly flashed. Window and door heads, sills, and the lap sequence around jambs top the list, followed by roof to wall intersections and the kick out at the bottom of a roof to wall run, which is one of the most common sources of concealed damage. Deck ledger attachments, mechanical penetrations, horizontal trim and belly bands, material transitions where brick meets siding, the bottom of the wall, and inside and outside corners round it out. The specific detail required at each is set by the adopted code and the cladding manufacturer’s published instructions, applied to your building by the licensed contractor doing the work.
Why is trim more important than it looks?
Because trim gets specified last and occupies exactly the positions where walls fail: heads of openings, bottoms of walls, corners, material transitions, and horizontal bands. Three things determine whether it helps or hurts. Horizontal top edges need to be flashed and sloped, since an unflashed horizontal trim surface is a shelf holding water against a joint. End grain needs to be sealed, which matters enormously on wood and engineered wood where the cut end is the most absorbent surface. And trim has to maintain the clearances the cladding manufacturer publishes at roof surfaces, decks, and grade, since trim is often the piece scribed down tight to a surface for appearance and thereby creating a wicking path.
How do I verify work I will never be able to see again?
By scheduling the verification rather than hoping someone remembers. Once siding is on, the barrier, the flashings, and the transitions can only be checked in the window between the old cladding coming off and the new going on, and on most residential elevations that window is a matter of days. A pre close in walk with photographs of each elevation, plus close photographs at every opening and penetration, costs almost nothing and creates a record with value for as long as the house stands. Put the date and the photographic deliverable in the contract, and treat reluctance to schedule that walk as the most useful information you will get during the project.
Sources
- City of Columbus, permit information
- Ohio Department of Commerce, Division of Industrial Compliance
- U.S. Department of Energy, moisture control
- Ohio Construction Industry Licensing Board
About This Guide
Written and edited by Micheal Parker, founder of Transit & Flow Group. Published March 17, 2027. This guide is checked against the agency and code sources listed above, and it is revised when those sources change.
General contractor of record. Micheal Parker holds City of Columbus General Contractor Registration G12064, issued by the Columbus Department of Building and Zoning Services under Transit & Flow LLC and valid through June 30, 2027. Trade work that falls outside the scope of that registration is performed by licensed trade partners, and the responsible license holder is identified before work begins.
Transit & Flow Group, home and commercial services for Columbus and the surrounding Central Ohio communities. Phone (614) 382-0000. Email solutions@transitflowgroup.com. 10 N High St, Suite 217, Columbus, OH 43215. Contact our team or review the communities we serve.
